You’ve accepted the metal. You’re dealing with the soreness. You’ve mastered the cleaning routine. Now comes the fun part—the only part of your treatment you actually control: The Colors.
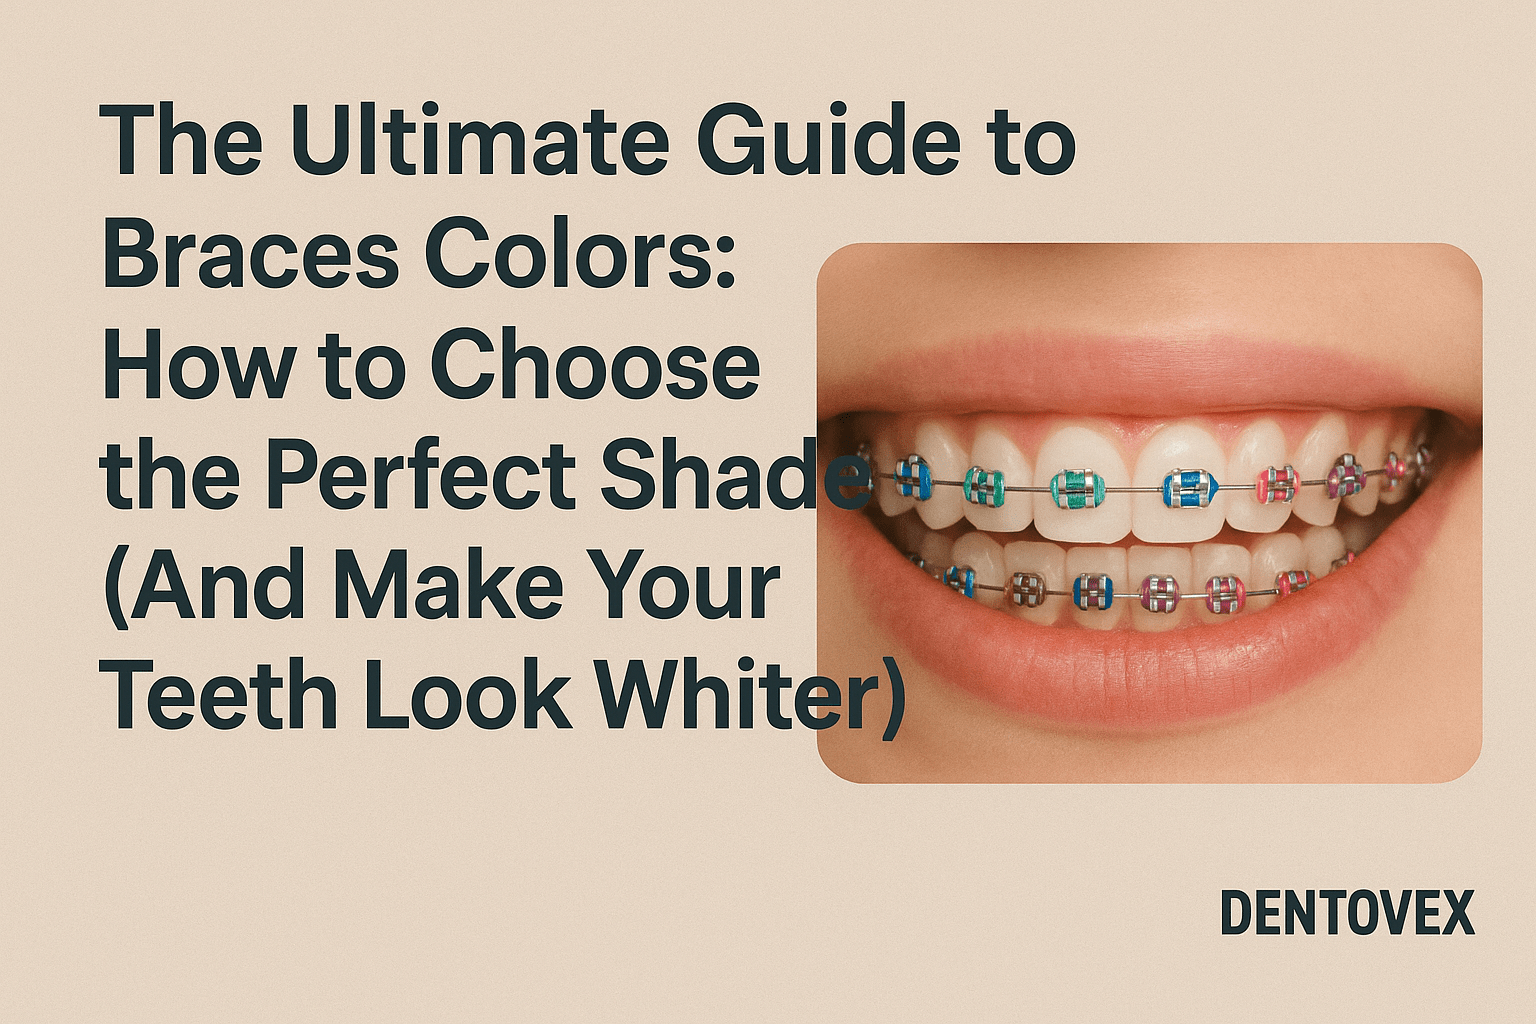
Every 4 to 8 weeks, when you visit your orthodontist for an adjustment, they change the tiny elastic bands (ligatures) that hold the wire to your brackets. These bands come in dozens of colors, from neon pink to subtle silver.
But with great power comes great responsibility. Choose the wrong color, and your teeth might look yellow. Choose the right one, and your smile pops.
At Dentovex, we know the pressure of the color wheel. In this guide, we break down the color theory of orthodontics to help you pick your next look with confidence.
1. The #1 Goal: Colors That Make Teeth Look Whiter
Let’s be honest. This is what everyone wants. If your teeth have a naturally slightly yellowish tint (which is normal!), certain colors create a contrast that tricks the eye into seeing them as brighter white.
The Best Choices for a Whiter Smile:
- Darker Blue / Navy / Royal Blue: This is the gold standard. The deep contrast makes enamel look blindingly white.
- Purple / Violet: Excellent contrast, similar to blue.
- Darker Greens (Emerald / Forest): Great contrast, but be careful it doesn’t look like food (more on that below).
- Silver / Grey: Blends in with the metal brackets, giving a metallic, clean look that doesn’t clash with tooth enamel.
2. The “Danger Zone”: Colors to AVOID
Some colors, while pretty on the palette, look disastrous inside the mouth.
- Yellow: It will enhance any natural yellow tones in your teeth, making them look stained.
- Gold: Same issue as yellow.
- White: Surprisingly, white bands stain easily (from coffee/curry) and turn an off-white/yellowish color quickly, making your actual teeth look dull in comparison.
- Clear (Transparent): Great for ceramic braces initially, but they stain horribly within two weeks, turning yellow or orange from food.
- Light Greens / Teal: Can easily look like a piece of spinach or lettuce stuck in your teeth from a distance.
3. Seasonal and Event Combos (Mix & Match!)
You don’t have to pick just one color. You can alternate colors on every other tooth!
- Christmas / Holidays: Red and Green alternating.
- Halloween: Orange and Black.
- Valentine’s Day: Pink and Red.
- Summer Vibes: Hot Pink and Teal, or a rainbow mix.
- School Spirit / Sports Team: Pick your school’s two primary colors to show support.
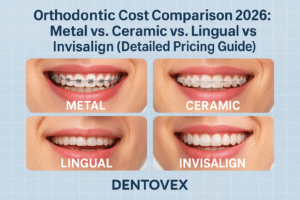
4. A Note on Ceramic (Clear) Braces
If you paid extra for ceramic braces because you wanted them to be invisible, be careful with colors.
- The Best Bet: Stick to Silver or a very light Smoke Grey tie. Clear ties stain too fast, and dark colors defeat the purpose of having “invisible” braces by creating loud colored dots on your teeth.
5. What If I Don’t Have Elastics? (Self-Ligating Braces)
Important Note: If you have a “Self-Ligating” system (like Damon braces), your brackets have a built-in sliding door to hold the wire. You don’t need elastic bands.
However, many orthodontists can still add colored ties purely for decoration if you ask!
Conclusion: Have Fun With It!
Don’t stress too much. The best part about braces colors is that they are temporary. If you hate your choice, you only have to live with it for a few weeks until your next appointment.
Experiment, be bold, and show off your personality.
Want to keep those colors looking fresh? Make sure you are following a strict cleaning routine. Read our guide on How to Clean Your Braces Like a Pro.
Disclaimer: Color availability varies by orthodontic clinic. Not all colors may be available at every appointment.


No responses yet